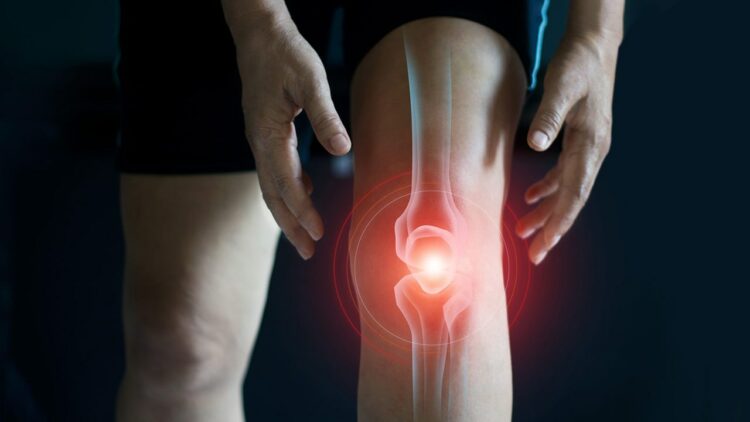
Yoga for Joint Pain Relief – Joint pain is becoming a more common cause in people regardless of age. Earlier, this problem was linked only with the elders as their body tends to weaken with age, but now even youngsters are going through issues like joint pains. This problem can make your life uncomfortable and make it difficult for you to perform your day-to-day tasks, thus hindering your life’s quality.
Read Also: Reverse Aging Drugs: Scientists’ New Discovery That Can Revere Aging in Less Than 7 Days.
So people rely on various medications to relieve joint pain. You can depend upon the medicines, but that can’t be a permanent solution for your joint pains because it will become a habit for you, and when you do not get those medicines, you have to suffer from the pain again. That’s why we have developed some natural solutions for your pain joints. In this article, we will tell you the five best yoga for joint pain to get relief. These yoga asanas, if performed correctly, will target the specific areas of discomfort and help promote strength, flexibility, and relaxation in your joints. So let’s start understanding yoga for joining pain relief.
Downward Facing Dog (Adho Mukha Svanasana)
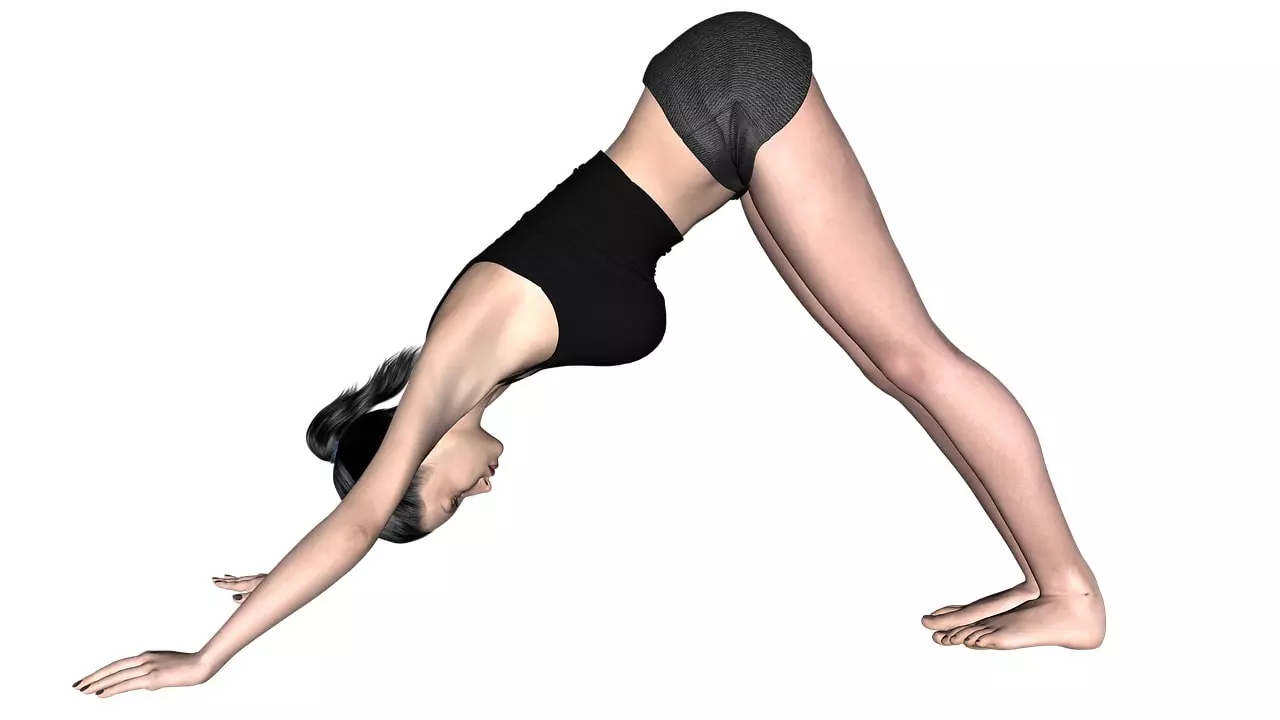
Downward Facing Dog, also known as Adho Mukha Svanasana, is one of the best yoga for joint pain relief. This yoga focuses on calves, hamstrings, and shoulders and helps build strength in the legs and arms. You can start on your knees and hands in a tabletop position to perform this yoga posture. Your head should be slightly forward of your shoulders, and your fingers should be spread widely.
Now Press into your palms, tuck your toes under, and your hips should be toward the ceiling. You will end up in an inverted V-shape. It would be best to keep your knees slightly bent, and your heels should reach the floor. Now lengthen your spine and draw your shoulders away from your ears. You should hold this position for at least 30 seconds to 1 minute.
Child’s Pose (Balasana)
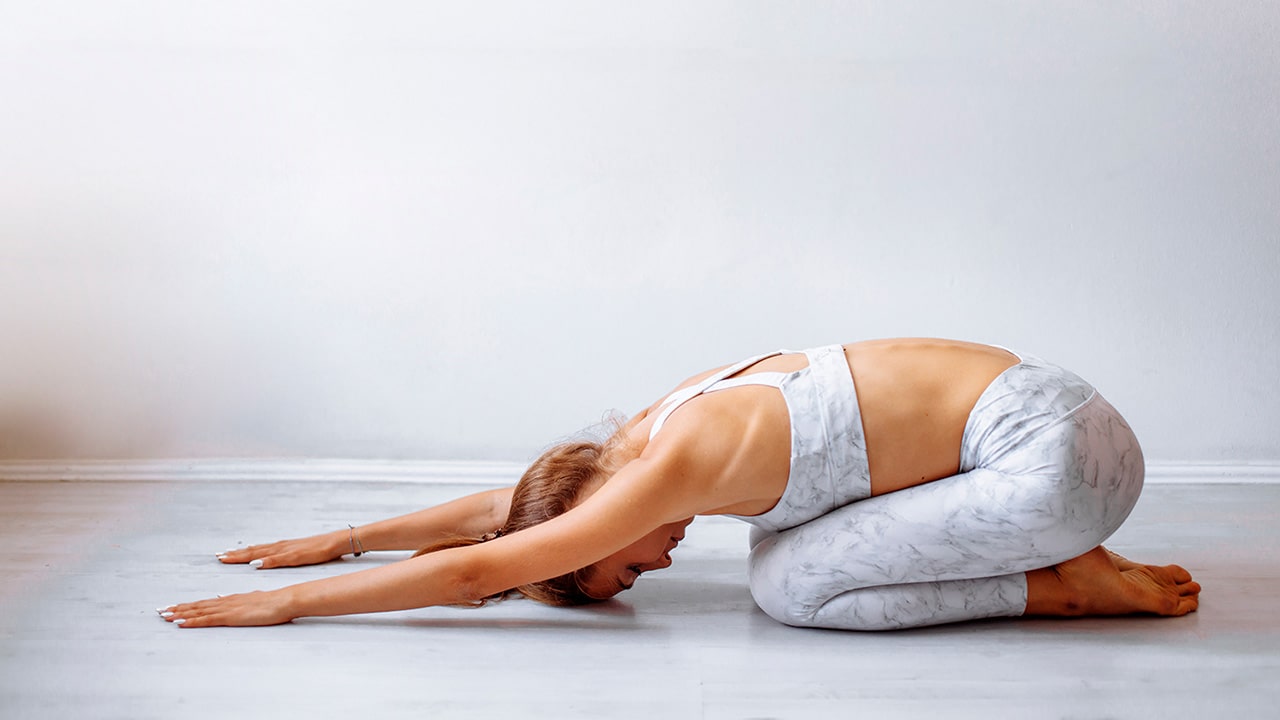
Child’s Pose, also called Balasana, is one of the best yoga for joint pain. It helps stretch the hips, spine, and thighs and provides a sense of calm and relaxation. To begin with this posture, you can start by sitting on your heels, stretching your arms forward, and lowering your chest towards the floor. Now rest your forehead on the cushion or the mat, whichever you find comfortable. You should hold this position for at least 30 seconds to 1 minute.
Triangle Pose (Trikonasana)
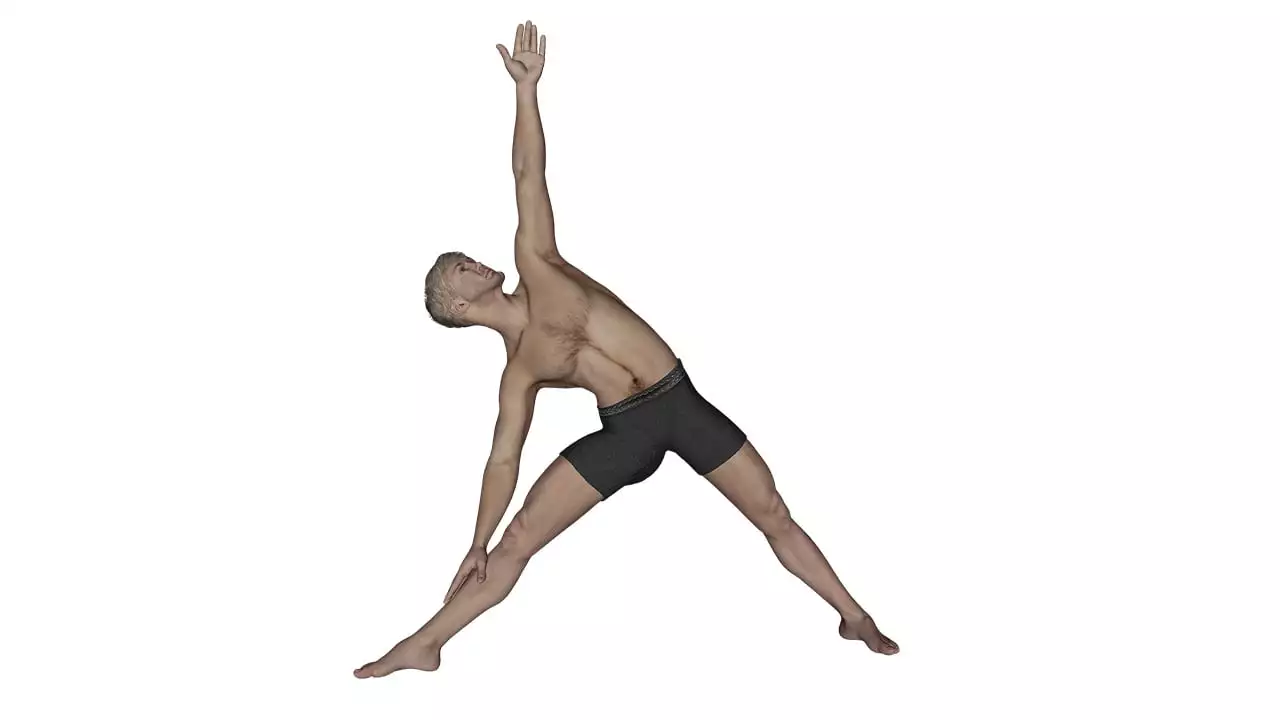
Triangle Pose, also called Trikonasana, is one of the best poses to stretch your hamstrings, hips, and chest and thus helps relieve joint pains. To begin with, in this pose, stand with your feet wide apart and turn your right foot out at 90 degrees. After that, pivot your left foot slightly inwards.
Now extend your arms out to the sides at the shoulder height. Your torso should be leaning to the right, racing to your right hand and towards the right foot. Remember, your spine should stay long, and your left arm should be extended straight toward the ceiling. You should hold this position for at least 30 seconds to 1 minute.
Bridge Pose (Setu Bandhasana)
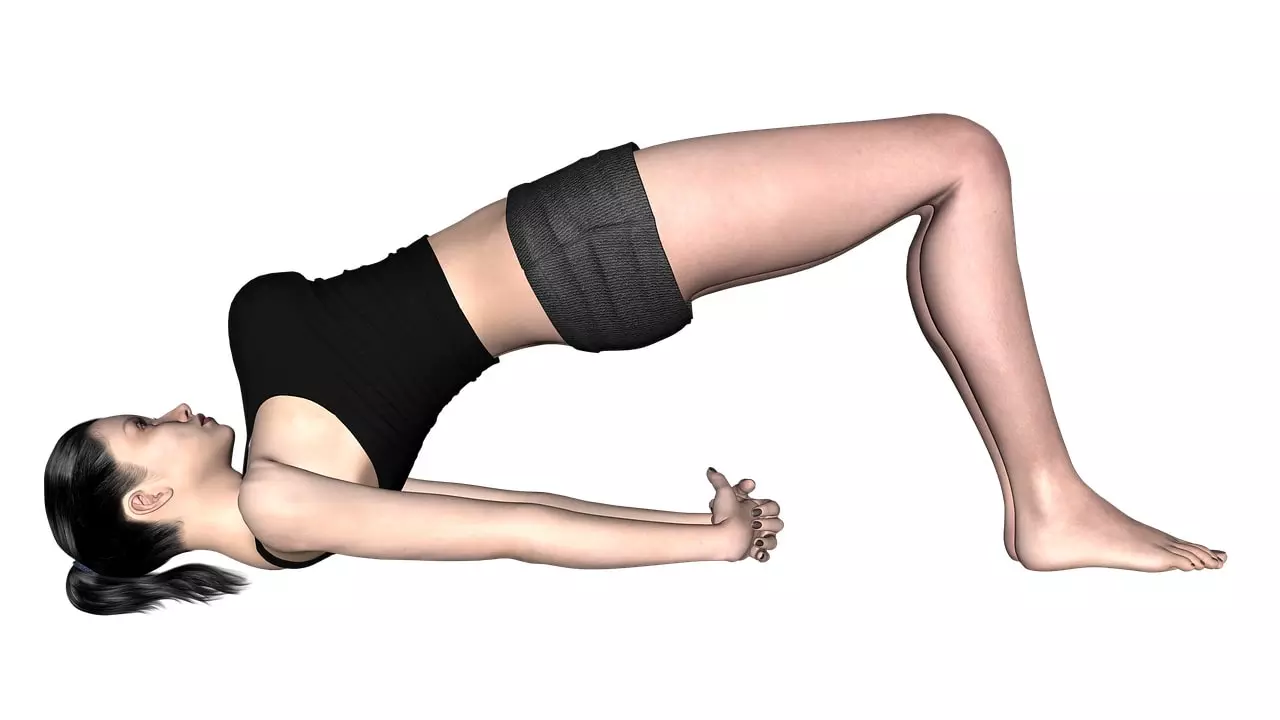
Bridge Pose, also called Setu Bandhasana, is one of the best yoga for joint pain, with the main focus on stretching the spine, strengthening the buttocks, back, and legs, and opening up the chest. To start with this posture, you must lie on your back by bending your knees and feet hip-width, which should be close to your sitting bones. Now place your arms alongside your body, and your palms should be down facing.
Afterward, you must press your arms and feet into the floor and lift your hips toward the ceiling. Remember, your thigh and the inner feet should be parallel. It would be best to aim to hold this position for at least 30 seconds to 1 minute.
Cat-Cow Pose (Marjaryasana-Bitilasana) – Yoga for Joint Pain
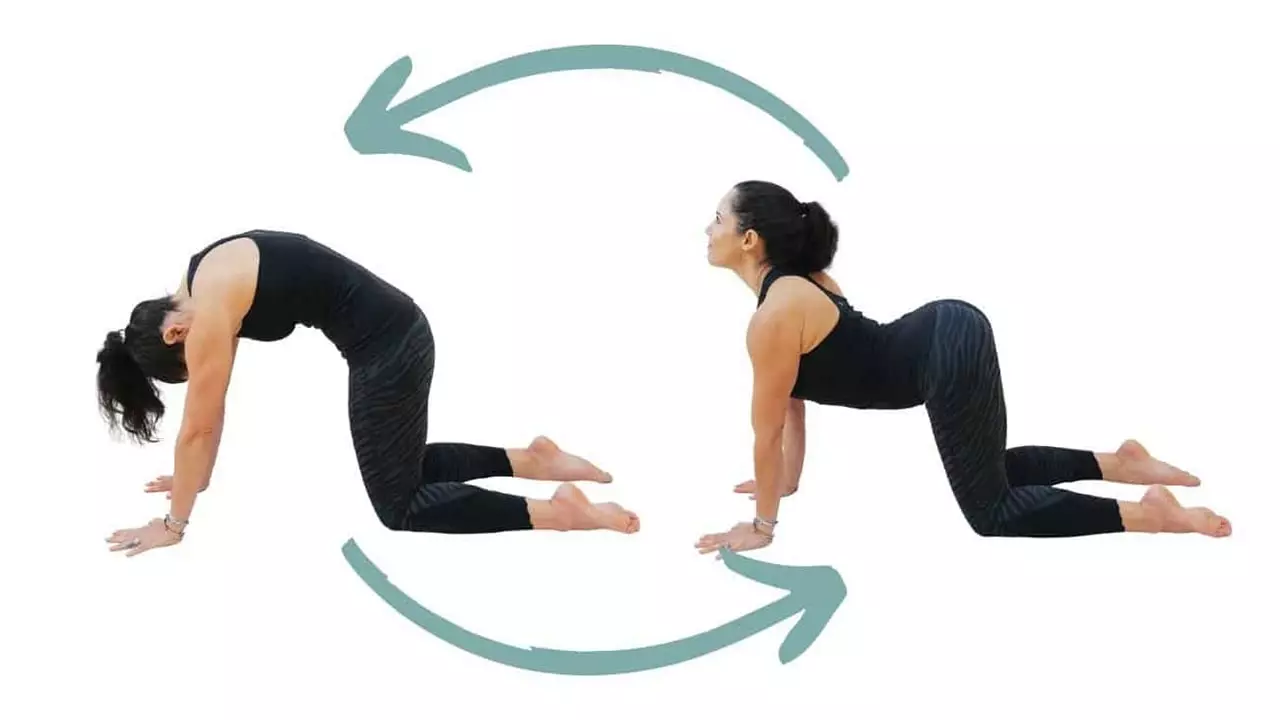
Cat-Cow Pose, also called Marjaryasana-Bitilasana, is an effective yoga for joint pain, which helps warm up the spine, releasing neck and shoulder tension and improving flexibility. To begin with this pose, you need to be in a tabletop position where your knees should be aligned under your hips, and your wrist should be aligned under your shoulder.
And now, when you inhale, you need to arch your back and lift your tailbone and head towards the ceiling by allowing your belly to sink towards the floor. This will be like a cow pose. And now, when you exhale, you should have to round your back, tuck your chin, and then draw your belly towards the spine in a cat pose. You should hold this position for at least 30 seconds to 1 minute.
So start following this yoga for joint pain regularly, which will help you in more joint flexibility and decrease stiffness, and you will also feel free from the joint pain. It would be best if you remembered to focus on your breath and shift to each pose mindfully by paying attention to the sensation and limitation of your body. Lastly, consult your health expert for any health concerns before adopting this yoga for joint pain.
To get more of our exclusive content on Health Care and Lifestyle. Follow us on YouTube and Instagram.


